
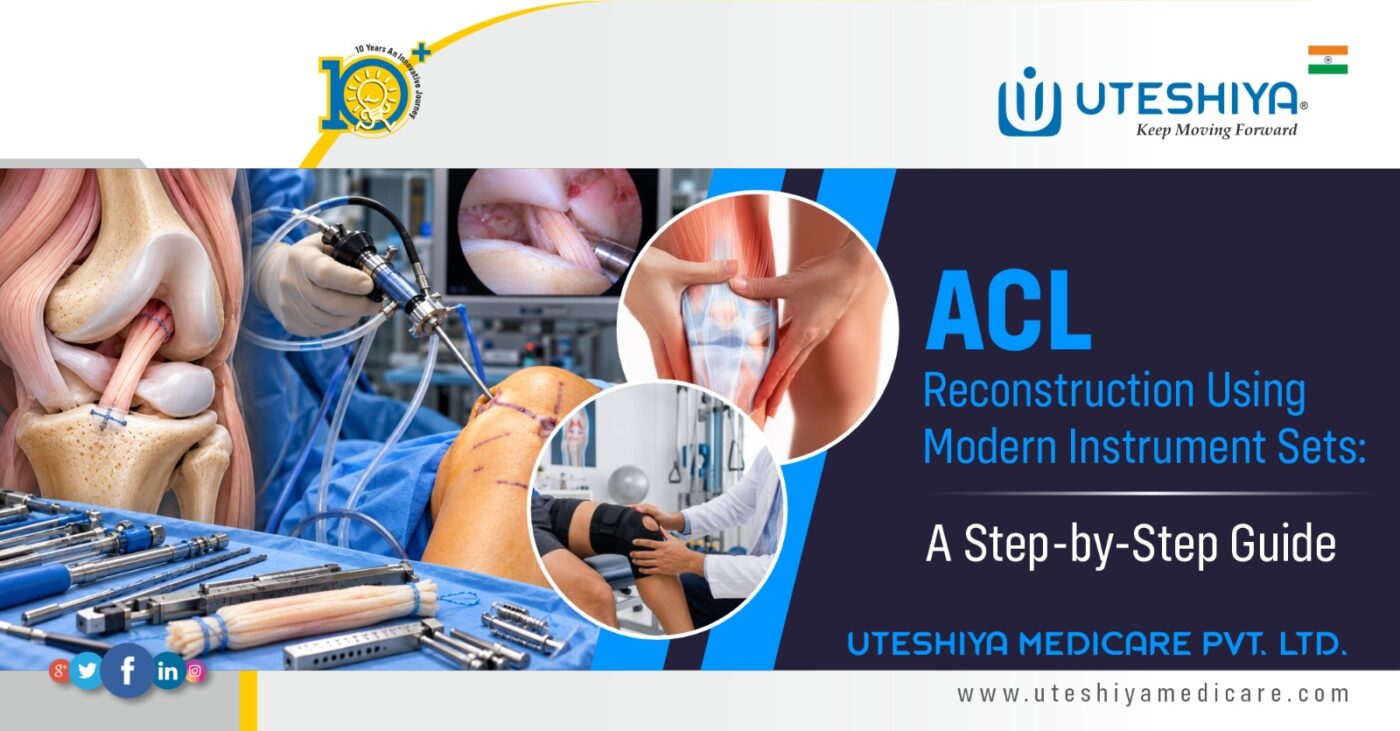
An anterior cruciate ligament (ACL) tear can make the knee unstable during activities such as running, jumping, or changing direction quickly. When the injury causes persistent instability, ACL reconstruction may be recommended to restore knee function. The procedure involves replacing the damaged ligament with a tendon graft and securing it inside the knee.
The operation requires careful preparation, accurate tunnel placement, and secure graft fixation. Modern ACL instrument sets provide the tools needed for each stage, from harvesting and measuring the graft to preparing the bone tunnels and positioning the replacement ligament. The instruments selected depend on the patient’s anatomy, graft type, and surgical technique.
Preparing the Knee for Reconstruction
ACL reconstruction is usually performed arthroscopically. The surgeon makes small incisions around the knee and inserts an arthroscope, a narrow instrument fitted with a camera. The images displayed on a monitor allow the surgeon to examine the joint and guide the instruments during surgery.
The surgeon examines the torn ligament and checks nearby structures for meniscal tears, cartilage damage, or other injuries. These findings help determine whether additional treatment is needed during the same procedure.
Different instruments support this initial examination.
- Arthroscope: Provides a clear view of the structures inside the knee.
- Arthroscopic probe: Helps assess the remaining ligament, menisci, and joint surfaces.
- Cannulas: Provide access for instruments through the surgical portals.
- Fluid management equipment: Maintains visibility by circulating fluid through the joint.
Once the examination is complete, the surgeon proceeds according to the planned reconstruction technique.
How the Graft Is Harvested and Prepared
The torn ACL is replaced with a tendon graft taken from the patient (autograft) or a donor (allograft). Common autograft options include the hamstring tendon, patellar tendon, and quadriceps tendon. The choice depends on the patient’s condition, activity level, and surgical plan.
Specialized instruments are used to harvest and prepare the selected tendon. A tendon stripper may be used for hamstring grafts, while patellar tendon grafts are commonly prepared with bone plugs at both ends.
Before placement, the graft is measured using sizing gauges, trimmed as needed, and fitted with sutures for passing and fixation. Its dimensions help determine the appropriate bone tunnel size and fixation method.
Surgical Steps and Instrument Requirements
Creating the Femoral and Tibial Tunnels
The replacement ligament must be positioned at appropriate attachment points on the femur and tibia. To achieve this, the surgeon creates tunnels or sockets in the bones through which the graft can be placed.
Tunnel positioning requires careful attention to the patient’s anatomy. Incorrect placement can affect graft tension, knee movement, and stability. The surgeon uses anatomical landmarks and specialized guides to establish the drilling points.
A typical ACL instrument set contains many tools for this stage.
- Tibial aiming guide: Helps establish the direction of the tibial tunnel.
- Femoral guide: Assists with positioning the femoral tunnel or socket.
- Guide pins: Establish the drilling path before the bone is prepared.
- Cannulated reamers: Create openings of the required diameter.
- Depth gauges: Help assess tunnel depth where needed.
The exact instruments depend on the chosen technique, such as an inside-out or outside-in approach to femoral tunnel preparation. After drilling, the surgeon checks the tunnel positions and dimensions before introducing the graft.
Preparing the Joint for Graft Placement
Before the graft is passed, the surgeon checks the joint for tissue that could obstruct its position or movement. Damaged ligament fibres may need to be removed to improve visibility and provide sufficient working space.
Arthroscopic shavers and curettes help remove selected soft tissue and prepare the area. The surgeon also examines the intercondylar notch, the space between the femoral condyles through which the ACL passes.
If the graft is likely to come into contact with surrounding bone during knee movement, additional bone removal may be considered. This procedure, known as notchplasty, is performed when indicated rather than as a routine step in every reconstruction.
The surgeon aims to provide adequate space for the graft while preserving healthy bone and surrounding structures. A final inspection helps confirm that the planned graft position is suitable before fixation.
Passing and Fixing the Replacement Ligament
Once the tunnels are ready, the graft is guided into position using passing sutures, guide wires, or compatible passing instruments. It is drawn through the prepared openings and placed at the intended attachment sites.
The graft must then be secured so that it remains stable during the healing process. The fixation method depends on the graft type, tunnel design, and surgical technique. Two commonly used options are as below.
- Interference screws: Hold the graft against the wall of a bone tunnel.
- Suspensory fixation devices: Use a button-and-loop arrangement to secure the graft at the bone surface.
Sutures and other fixation components may also be used with specific graft constructions. The surgeon checks graft tension and position after fixation, then moves the knee through its range of motion to assess stability and check for impingement.
The instruments and fixation devices must be compatible with the planned reconstruction. Their selection is based on the surgical technique and the requirements of the individual case.
After ACL Reconstruction
Closing the Incisions and Planning Recovery
After the final inspection, the surgeon removes the instruments and closes the small incisions. A sterile dressing is applied, and the patient is monitored during recovery from anesthesia.
Rehabilitation begins according to the surgeon’s instructions. Early treatment commonly focuses on controlling swelling, restoring knee extension, activating the thigh muscles, and gradually improving movement.
Weight-bearing instructions and brace use depend on the patient’s condition and whether additional procedures, such as meniscal repair, were performed. The rehabilitation plan is adjusted as knee function improves.
Returning to running, jumping, and sports requires more than the passage of time. Strength, balance, movement control, and functional assessments help determine readiness. Returning to demanding sports may take a year or longer.
Selecting an Appropriate ACL Instrument Set
The instrument set should match the planned surgical technique, graft choice, and fixation method. Depending on the procedure, it may contain tendon harvesters, graft preparation tools, sizing gauges, tunnel guides, reamers, passing instruments, and fixation tools.
Before surgery, the team should confirm that the required instruments are available, compatible, and functioning correctly. Inspection, cleaning, sterilization, and maintenance must follow the instructions applicable to each device.
Wrapping It Up
The instruments used in ACL reconstruction must suit the chosen graft, fixation method, and surgical technique. Checking instrument compatibility and condition before surgery helps the team prepare for the procedure. The surgeon’s assessment, accurate graft placement, and appropriate rehabilitation remain essential parts of patient care.
